How to manage year level rollover with SSO

Summary
- SSO allows real-time management of year levels in ClickView.
- Pick a rollover method based on your Active Directory security group structure.
- Method 1 involves managing year levels within Active Directory only.
- Method 2 involves making updates within ClickView only.
- Year level mappings should only be edited by your ClickView Administrator with SSO knowledge.
Choosing and performing year-level rollover
Maintaining accurate year level mappings ensures correct access for students in ClickView. If your institution uses Single Sign-On (SSO), you can update security groups directly.
Choosing the correct rollover method
The method for rolling over year levels depends on your current level structure.
Method 1: Year-based security groups
If your levels are organised by year (e.g., ‘Year 1’, ‘Year 2’, … ‘Year 12’), you must migrate each student to the next year level within Active Directory. No changes are needed within ClickView. Incoming students should be added to the lowest year level, and outgoing students removed as appropriate.
Method 2: Class year security groups
If your levels are structured by class year (e.g., ‘Class of 2020’, ‘Class of 2021’, … ‘Class of 2030’), you must perform a year level rollover within ClickView. This requires each year level in ClickView to move up by one, and manually adding the new level for incoming students.
To perform a year level rollover, follow the step-by-step instructions below.
How to roll over year levels in ClickView (Method 2)
- Sign in to ClickView with an Administrator account.
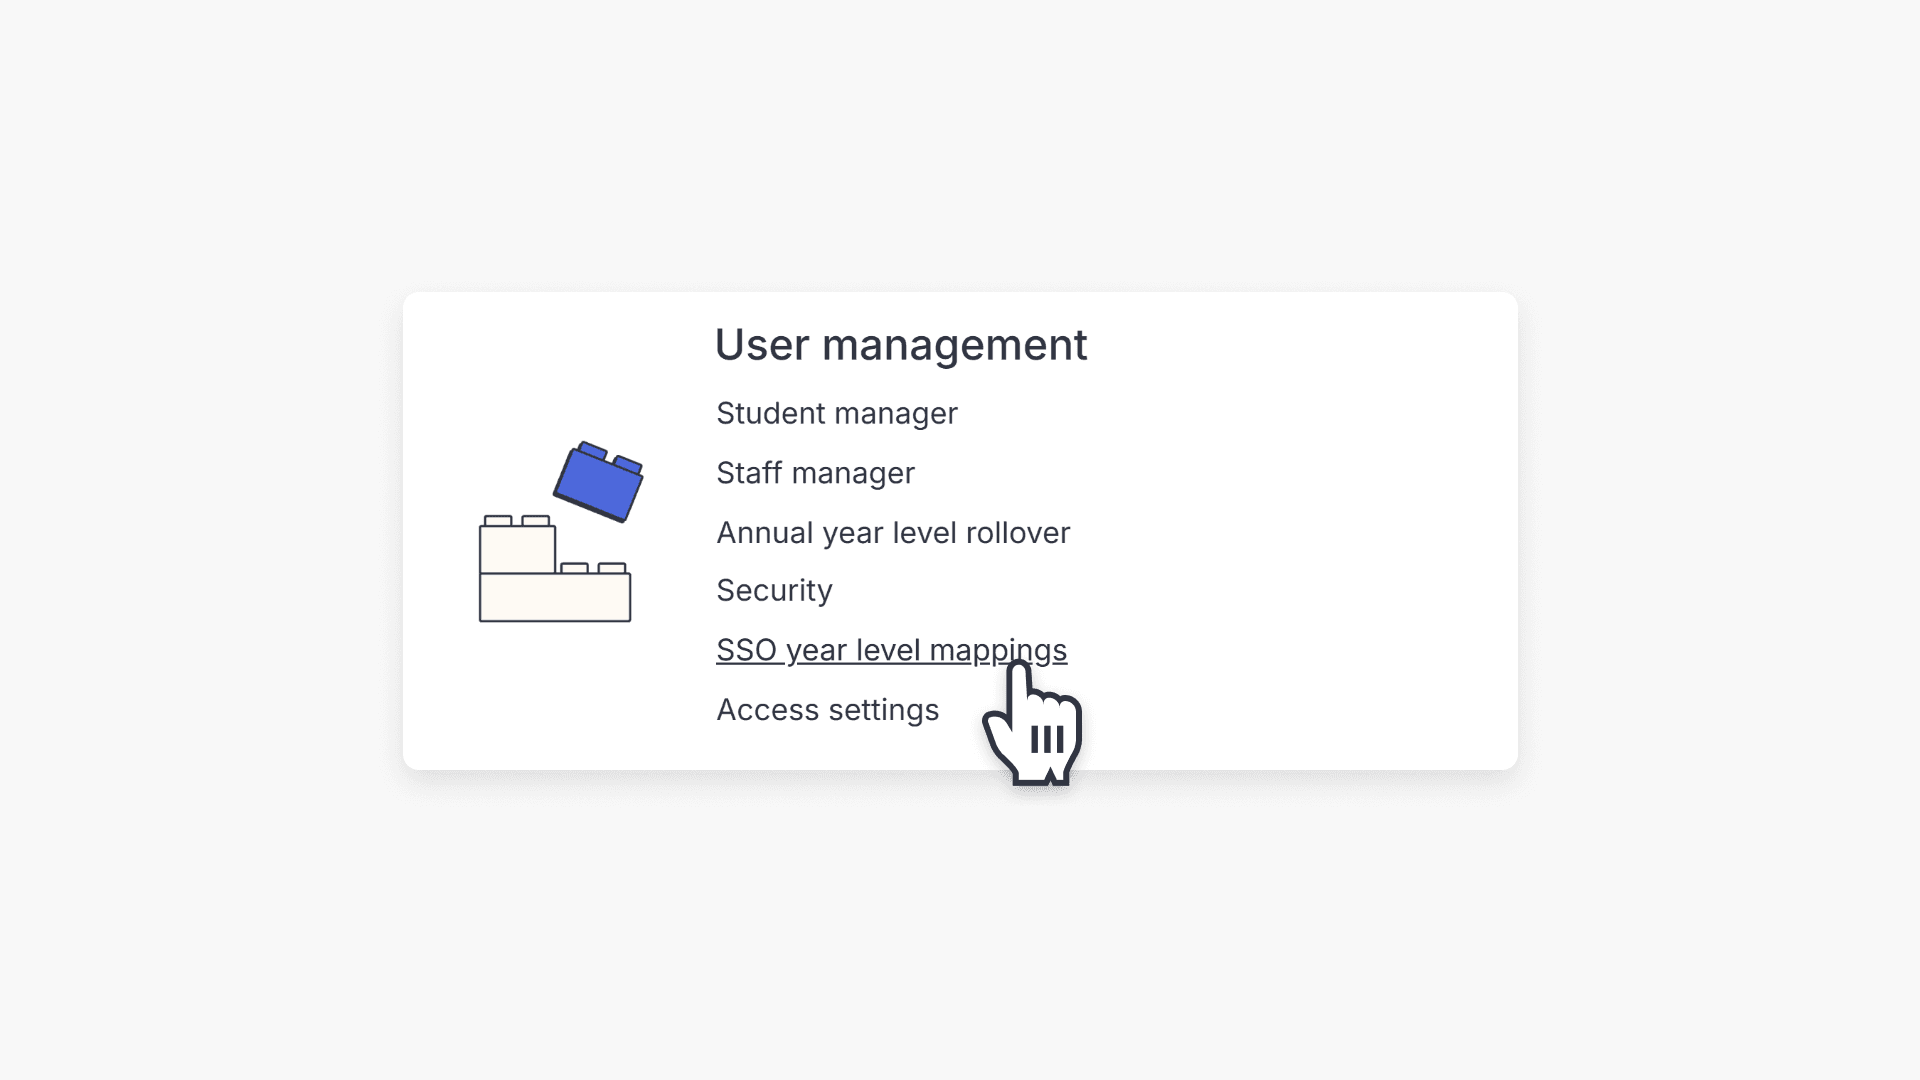
- Click on your avatar at the top right of the screen and choose Settings.

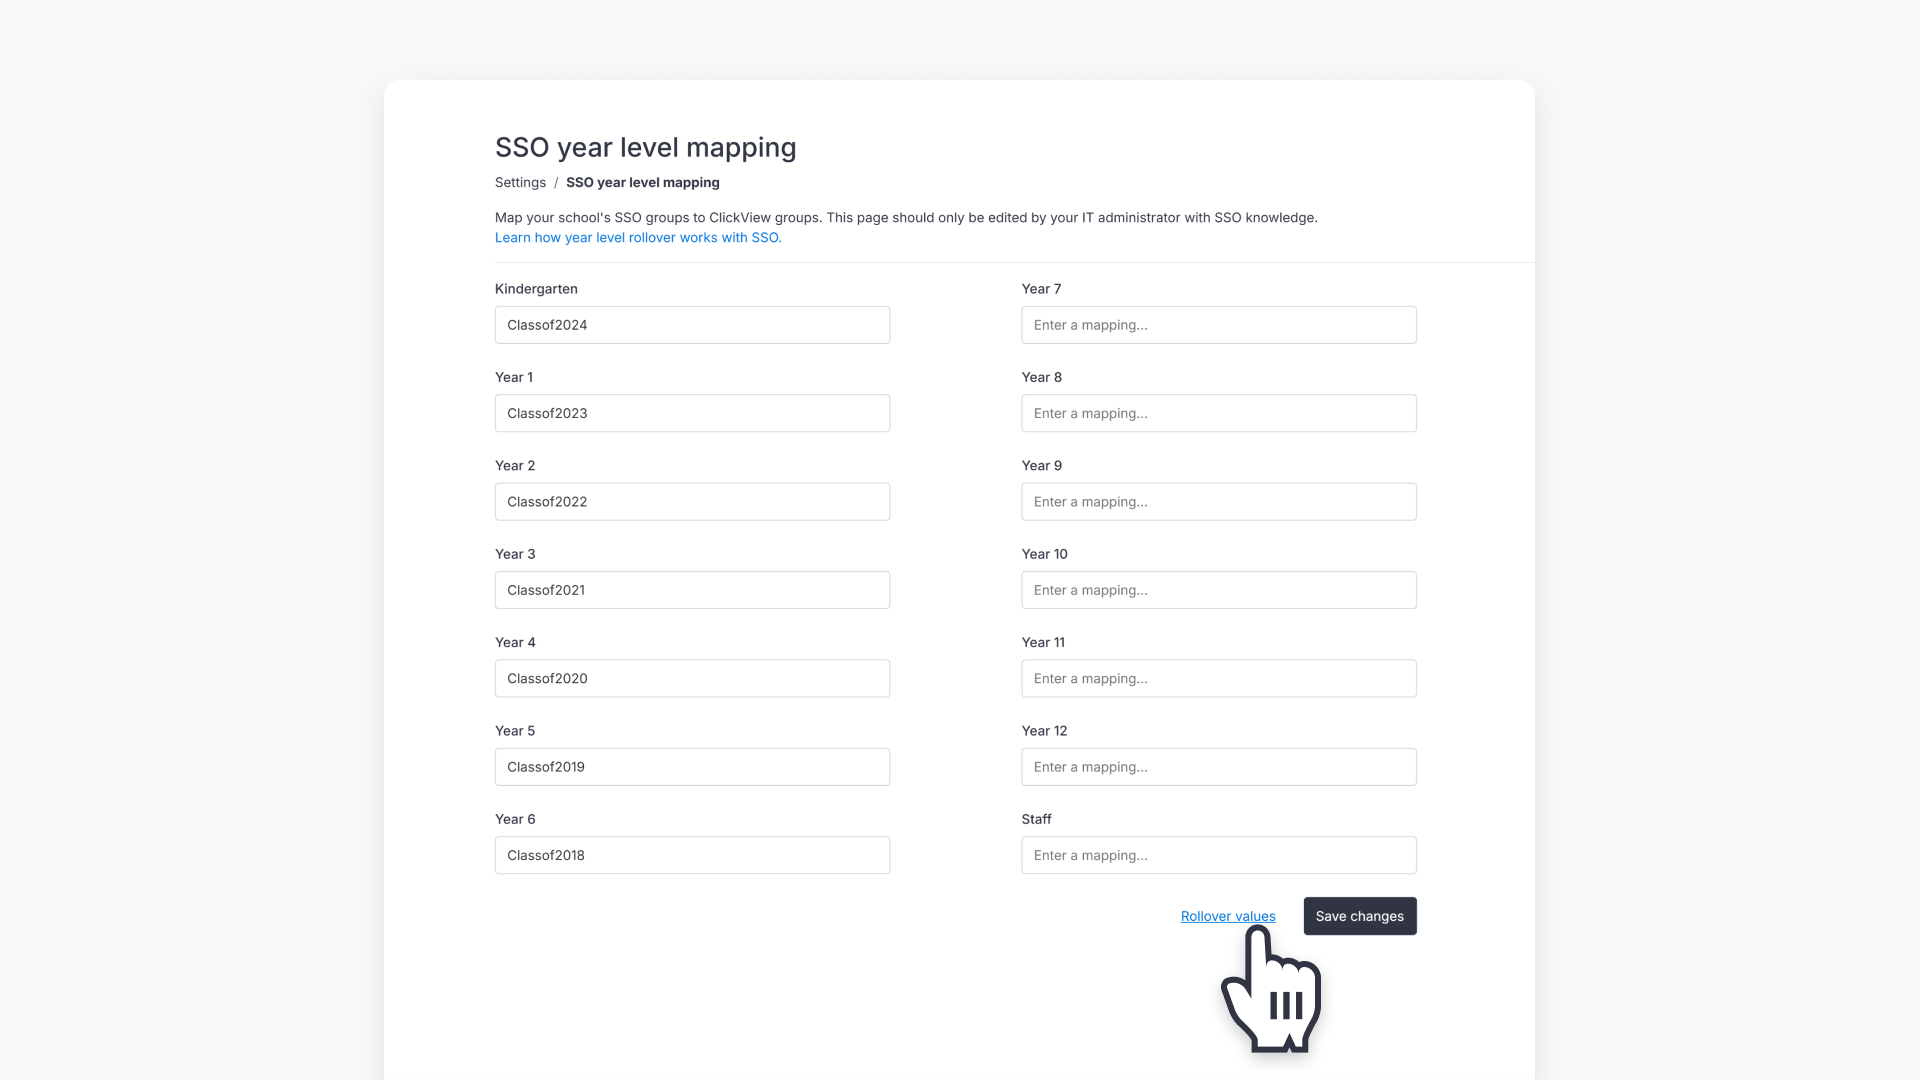
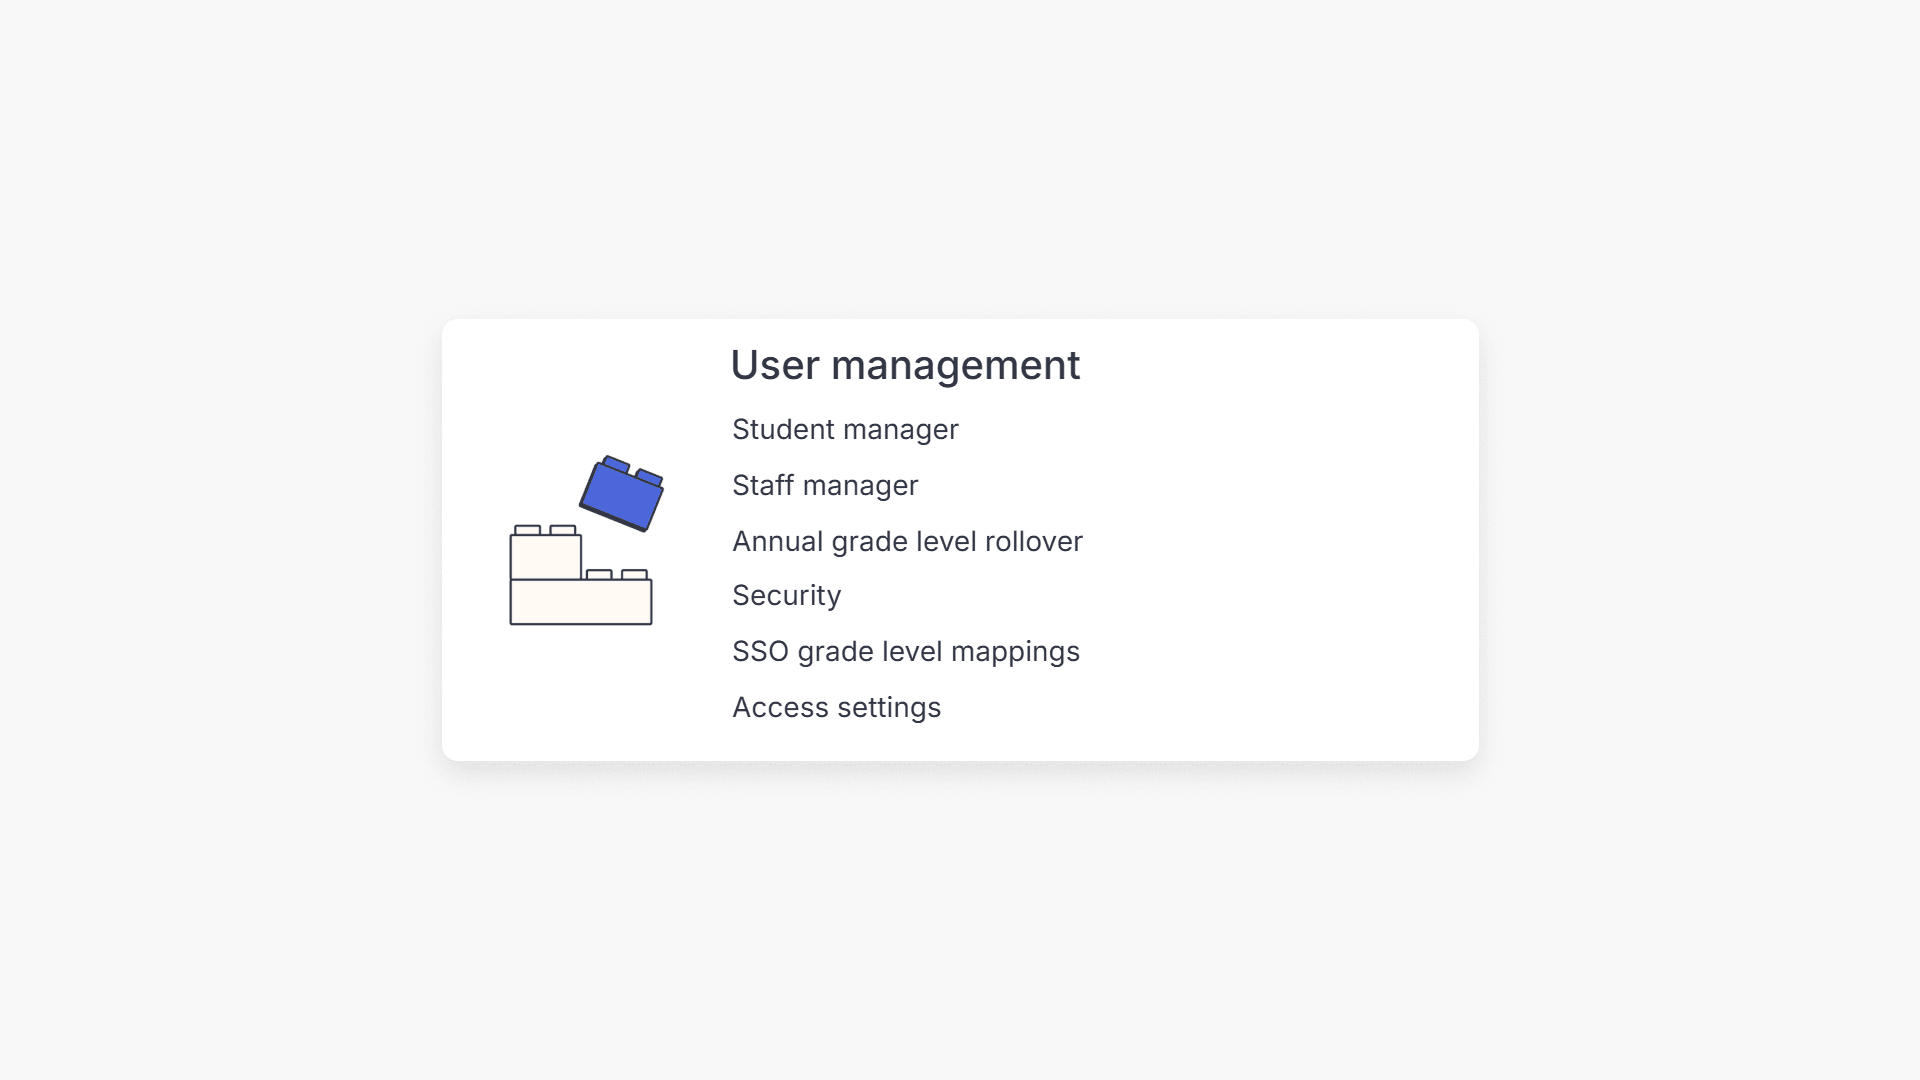
- On the Settings page, select SSO year level mappings under the User management section.
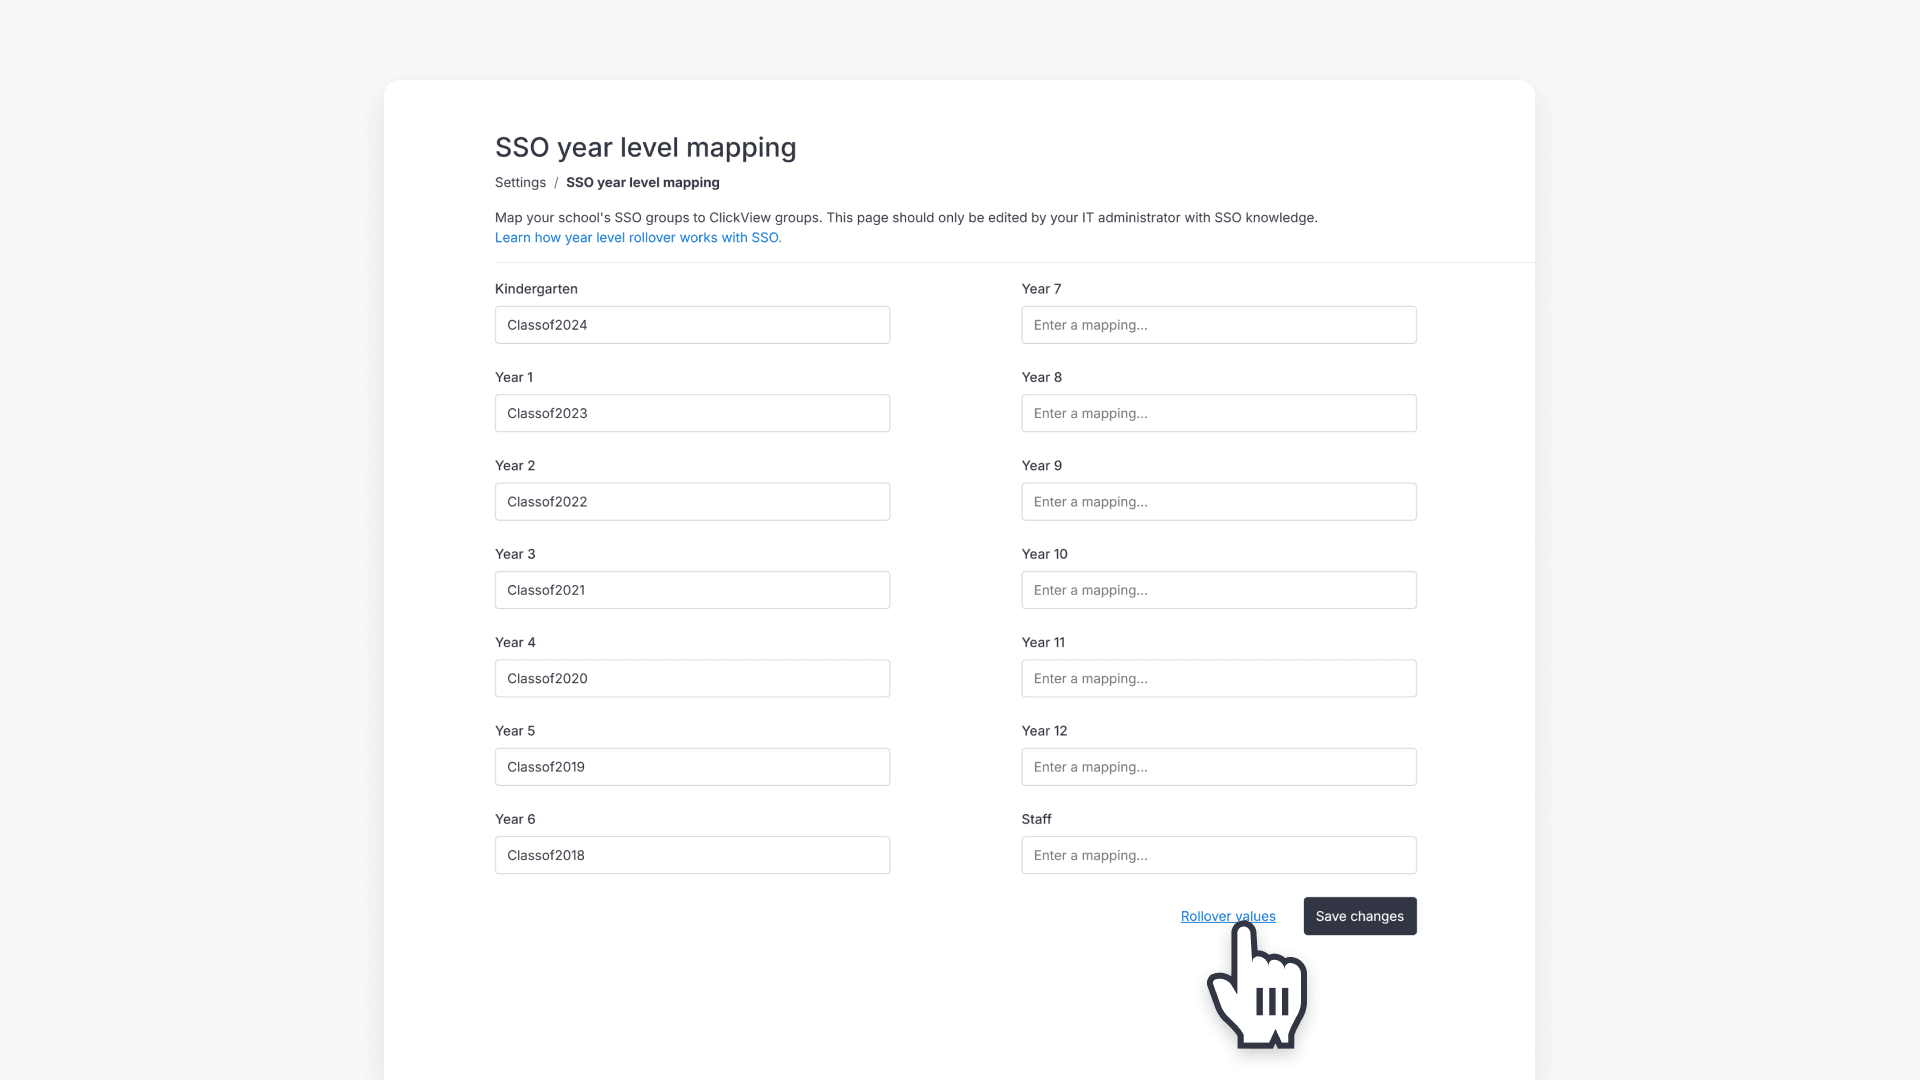
- Review the mapping screen. Ensure each security group from Active Directory is matched to the correct year level in ClickView.
- Click Rollover values to move each value to the next year level for the annual rollover.
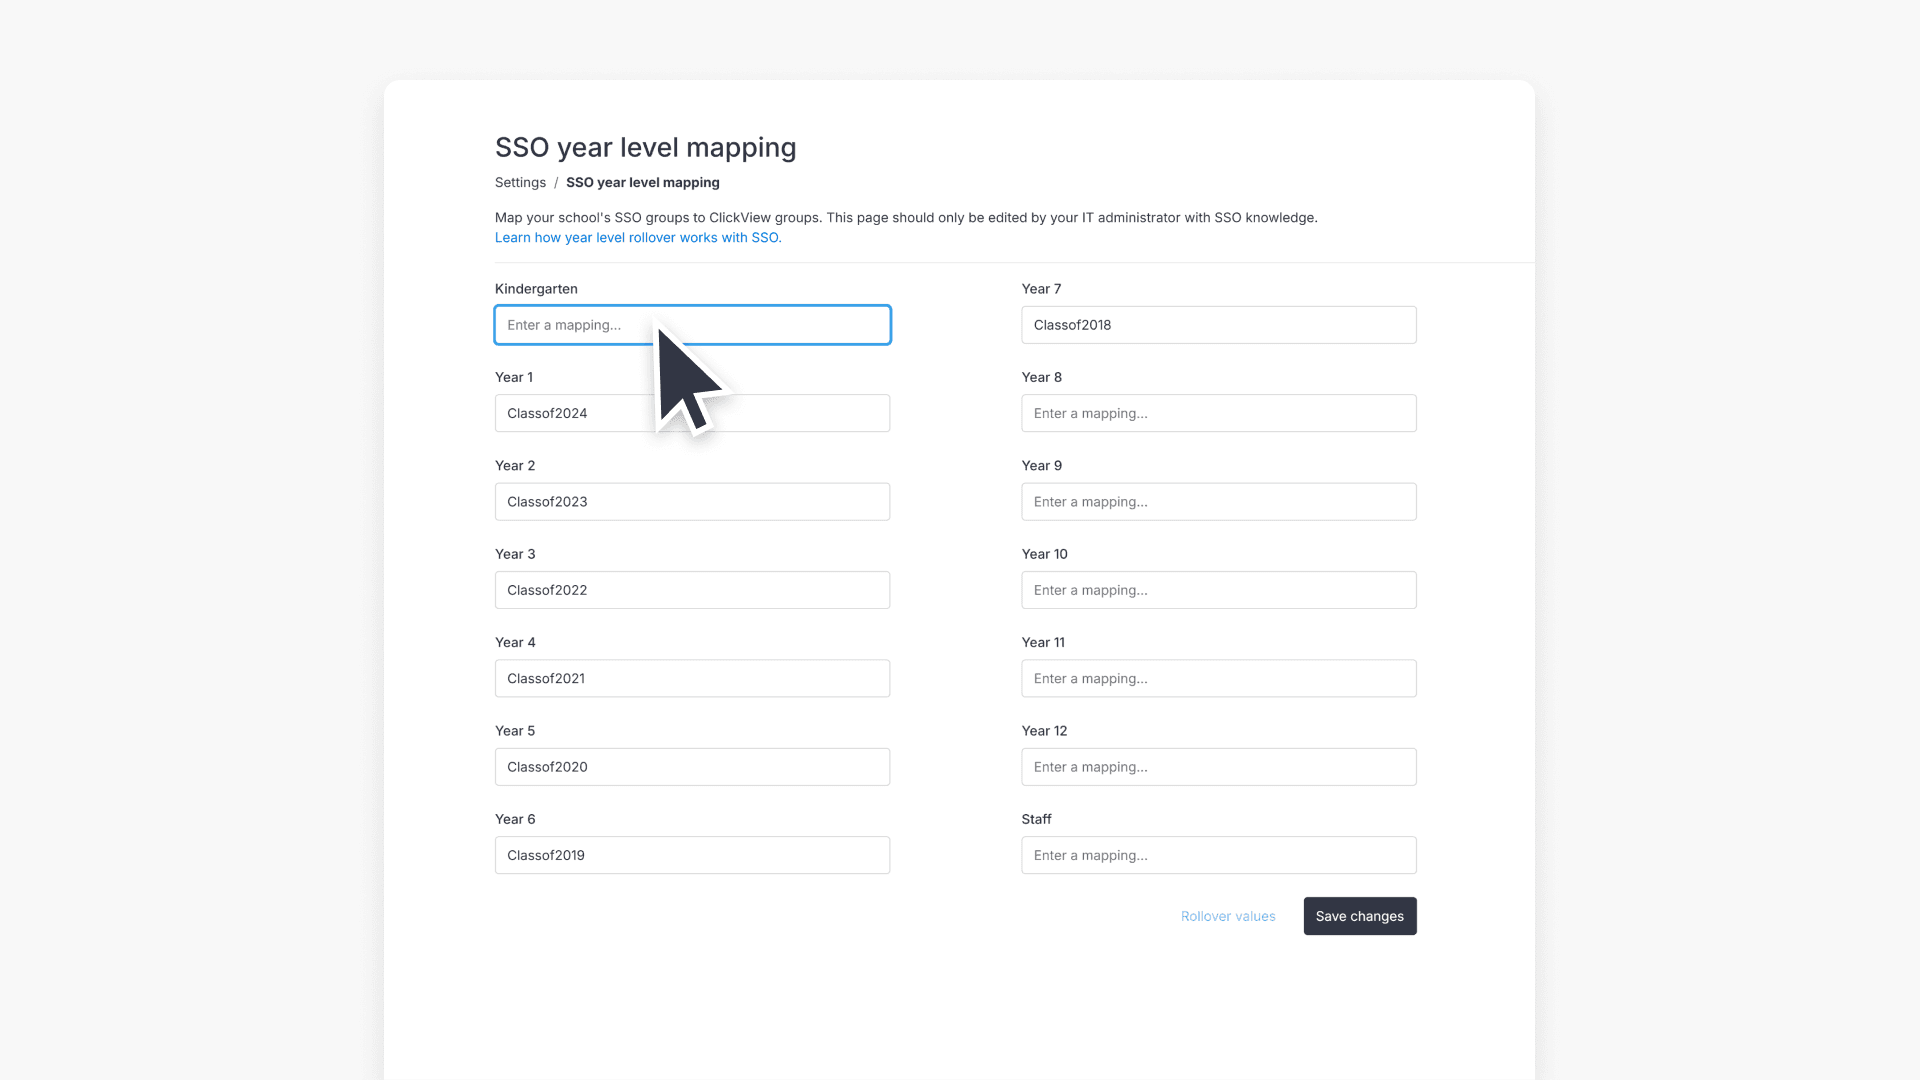
- Cycle out the oldest year (for example, Year 6) and refer to your Active Directory for the new security group name to populate the now-empty first year level (for example, Reception).
- Click Save changes to apply your updated year level mappings.
Frequently asked questions
Get in touch
If you’re having trouble finding the right topics or videos, just reach out! Our team - 


 Andrew, Nisch, Janice, Pfreya, or any of us at ClickView - will be happy to help you get sorted.
Give feedback
Was this guide helpful?
Up Next
Managing user accounts in your school
This article guides ClickView Administrators through the creation, management, and bulk updating of staff and student accounts, including manual, bulk, and Single Sign On methods.