Managing user accounts in your school

Summary
- Sign in as a ClickView Administrator and select “Settings.”
- Go to User management, then choose Staff manager or Student manager.
- Add accounts one at a time or import many at once.
- Fix any validation errors before you proceed.
- Deactivate users when needed, and remove accounts only after they’re deactivated.
- Update multiple users at once e.g. change year level or reset passwords.
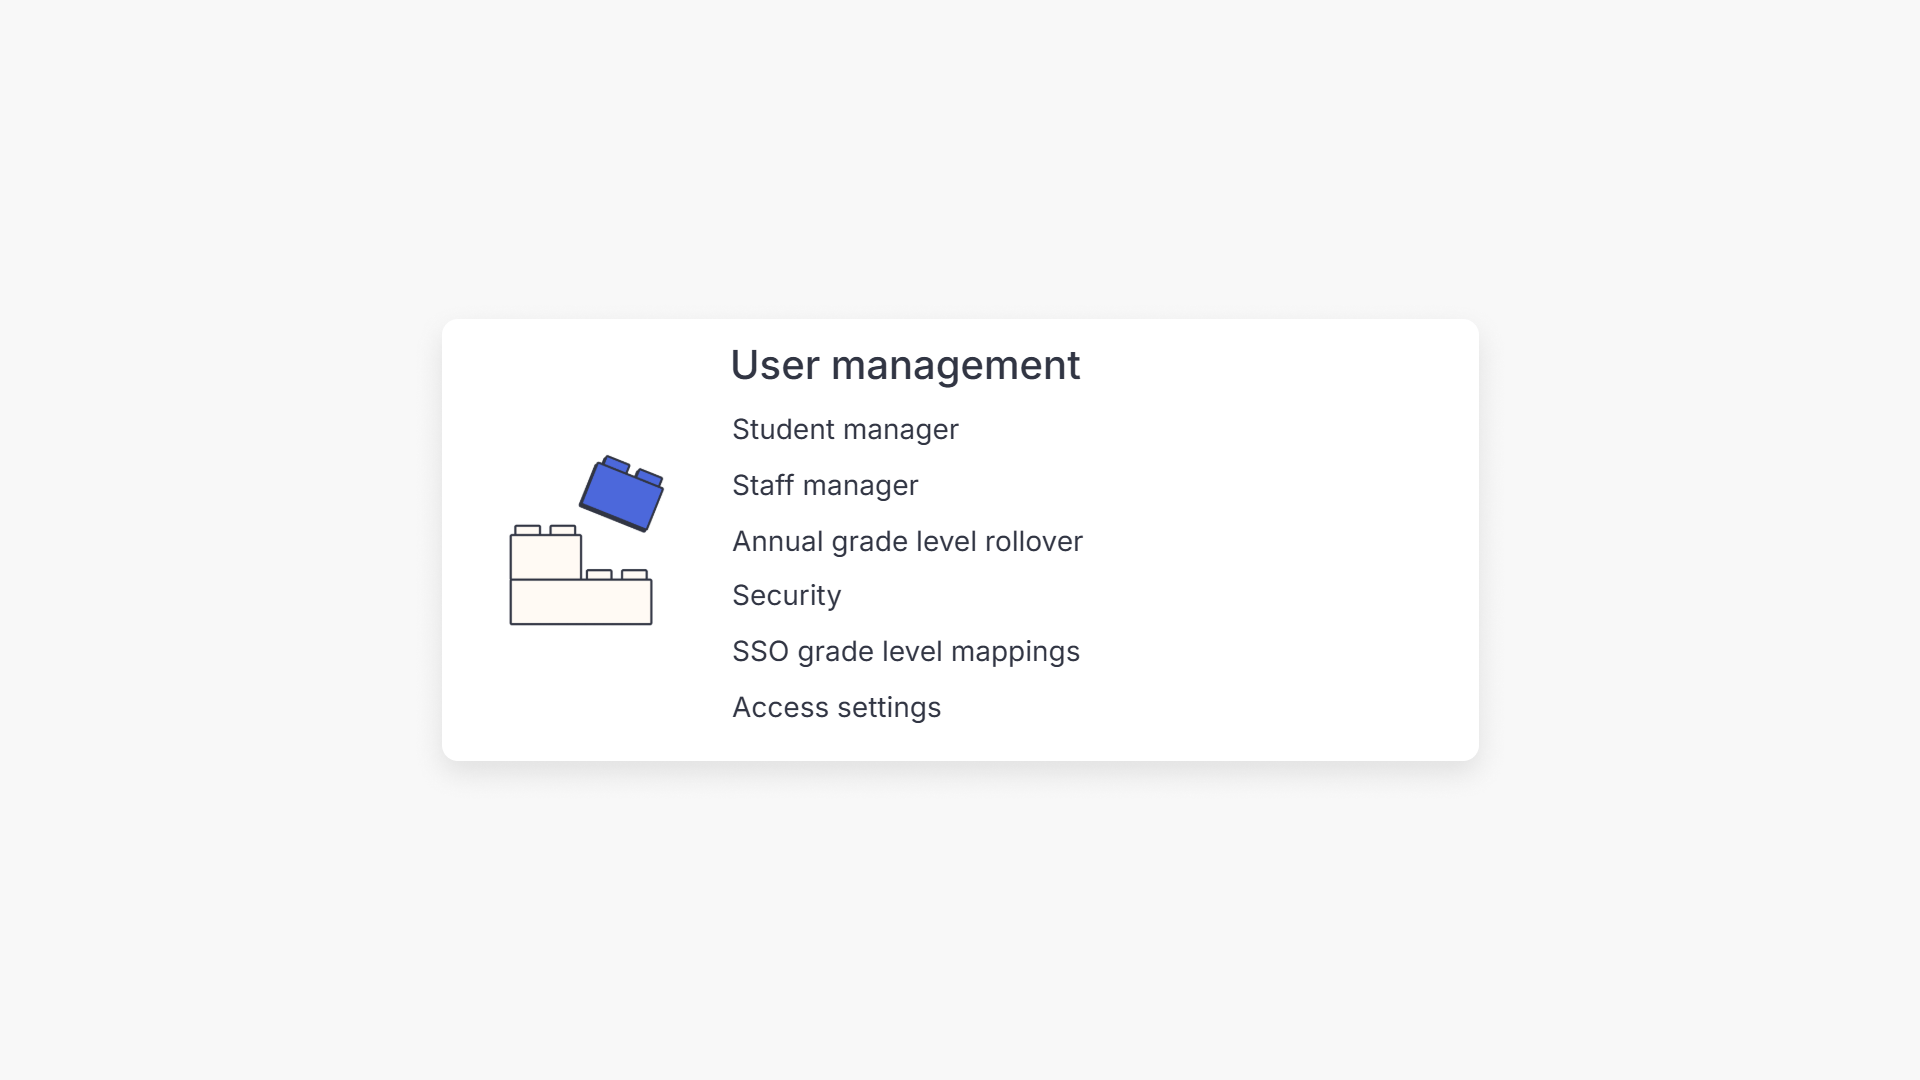
Accessing user management
ClickView Administrators can manage all staff and student user accounts from the School management option within ClickView. Depending on your school’s authentication method, accounts may be handled differently:
- Schools using Single Sign-On: Staff and student accounts are automatically created upon first sign in to ClickView. This is managed via your Active Directory.
- Schools not using Single Sign-On: Use ClickView’s built-in User Manager to create, update, deactivate, or delete users.
If you’re unsure whether your school uses Single Sign-On, see guidance here.
- To access user management, sign in to ClickView as an administrator.
- Click on your avatar in the top right then select “Settings.”

- On the Settings page, go to “User management” and select either “Staff manager” or “Student manager”.

Creating staff accounts
How to manually create an individual account
- Select “Staff manager” from “User management.”
- Click +Add new staff and select “Manually create account.”

- Fill out first name, last name, and email address.
- Choose a username or let one be auto-generated.
- If the user is an administrator, enable the Administrator toggle.
- Click “Create account.” To add more accounts, check the “Create another” box before clicking the button.

- The new staff member will receive an activation email with an “Accept invitation” button and their username.

- By clicking the email button, they will be prompted to sign in and set their ClickView password.

How to bulk upload accounts
- Select “Staff manager” from “User management.”
- Click +Add new staff and select “Upload a spreadsheet.”

- Download the template or prepare your file in the required format.
- Click the Upload .csv file button to import your list.

- Review imported staff for validation errors and correct them as needed.


- Once all details are validated, click the “Create” button to create the new staff accounts.

- New staff will receive activation emails.

- By selecting the email button, they will be prompted to sign in and create their ClickView password.

Creating student accounts
Student accounts can be created the same way as staff accounts – either manually one at a time, or in bulk using an import.
Single account creation
- Open Settings and select “Student manager” from “User management.”
- Click +Add new student and choose “Manually create account.”

- Enter the student’s first name, last name, and an email address.
- Set a username or allow one to be auto-generated.
- Select the year level for the student. This will determine the videos available to the student once they sign in to ClickView.

- Before creating the account, please note the two options below for setting student passwords.
- Click the “Create account” button. Check “Create another” to add more student accounts.
How to set student passwords
There are two ways to set up student accounts in ClickView:
- Student-set password
- Teacher-set password
Student-set password
- Enter the student’s email address into the “Create new student” form.
- ClickView sends an activation email to the student.

- Students click the Activate my account button, then set their own password.

- After activation, they can sign in with either their email address or username.

Teacher-set password
- If you choose to leave the email field blank, the student won’t receive an activation email.
- You must set the student’s password for them in the “Create new student” pop-up form.
- The student can then sign in using the username and password you provide.
Bulk account creation
- Open Settings and select ‘Student manager’
- Click +Add new students, select “Upload a spreadsheet”, and click Continue.
- Download the template or prepare your CSV.

- Click Upload.CSV file to browse and import your student list.
- Review and edit validation errors.


- Click the “Create” button. Students will now be listed as users.

- Administrators receive an emailed summary with credentials to share.

- Students with an email address will receive an email on how to get started.

- Students can click the “Activate my account” email button to create their password and sign into ClickView.

Deactivating or deleting a user account
- Open Settings, go to “User management”, and select “Student manager” or “Staff manager”.
- Find the user, click the three dots, and choose “Deactivate account.”

- Confirm to proceed.

- Deactivated accounts show “Deactivated” in a red box and cannot access ClickView.

- To delete the user’s account, select the three dots again and choose “Remove user.” Only deactivated users can be deleted.

Making changes to multiple accounts
The Bulk Actions feature allows administrators to efficiently update multiple staff or student accounts.
Supported actions include:
- Change year level
- Reset password
- Deactivate or reactivate accounts
- Delete accounts (must first deactivate)
- Add to classroom
- Annual year level rollover
- Send password reset email
Steps:
- Select accounts manually by checking boxes, or by uploading a CSV.

- Use the three dots near the search box, then click the “Upload .csv file” button.

- After the users have been selected, click “Select a bulk action.”

- Review the list of users. Click the X to remove any user from the selected list. Then click “Next” to proceed to action selection.

- On the next screen, choose which action you’d like to take on the selected users. The displayed options will depend on whether you have selected students or staff to bulk action.
Students bulk action options:
Staff bulk action options:
- For the example below, we selected 3 students and the Change year level bulk action to move Year 5 students to Year 6.


- Administrators will receive an email summary with a CSV file of changes.

Bulk action history
All bulk actions are logged so administrators can review them later.
- To view the history, select the 3-dot icon
- Choose Bulk action history to see a record of completed actions.


Frequently asked questions
Get in touch
If you’re having trouble finding the right topics or videos, just reach out! Our team - 

 Akhil, Daniel, Jalaj, or any of us at ClickView - will be happy to help you get sorted.
Give feedback
Was this guide helpful?
Up Next
How teachers can request access to your ClickView school
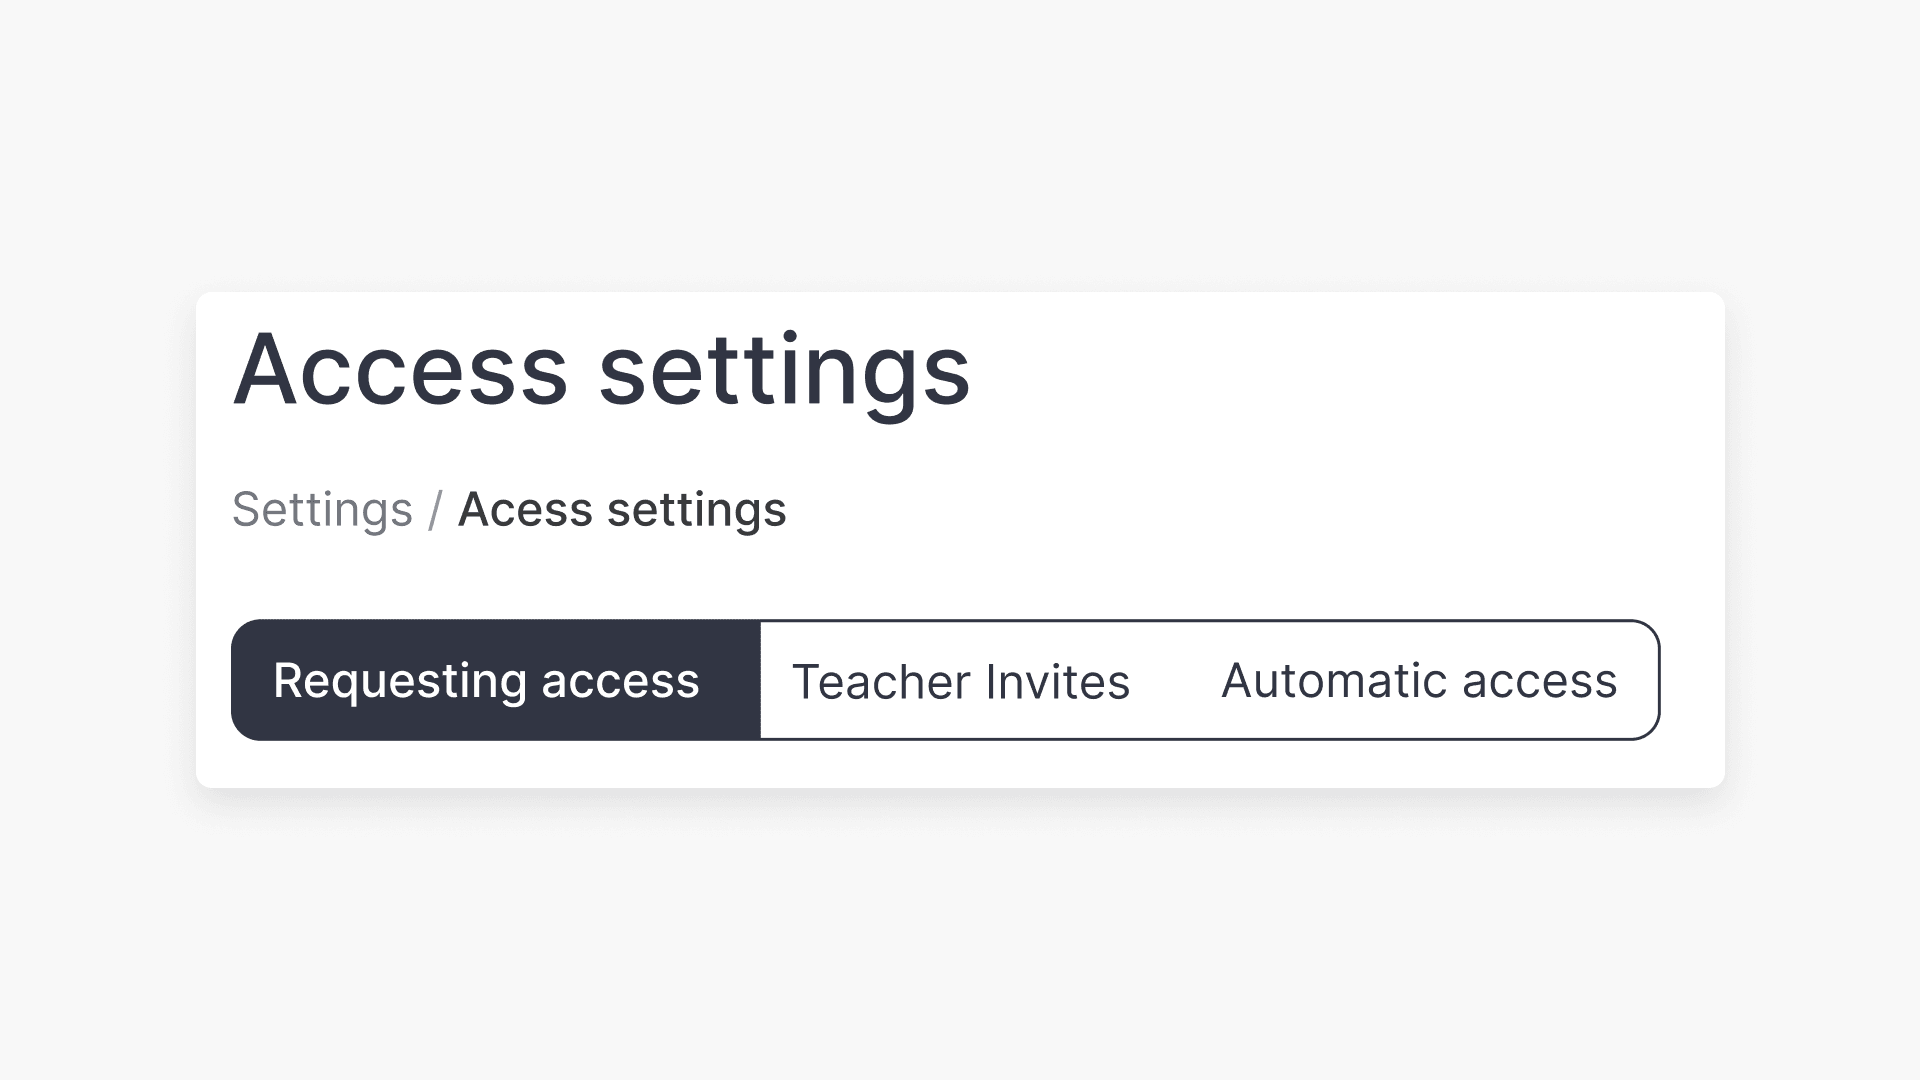
This article explains how ClickView administrators configure teacher access options, approve requests, use teacher invites, and enable automatic access for staff.