

15 Creative 4th of July crafts to celebrate Independence Day with kids
Published on 10 min read

In this guide
The importance of celebrating Independence Day in schools
Independence Day is an important day for most countries, and the United States is no exception.
It is the day we remember how we became a country. The 4th of July is a time to reflect on our freedoms as Americans and what those mean to each person.
Independence Day is a federal holiday, and it occurs in the summer, which means that schools are typically not in session. However, that does not mean that the holiday cannot be celebrated on another day. Classroom celebrations can coincide with history or literature units about the Revolutionary War. Students do not have to celebrate on the actual day to learn about the significance of Independence Day and how it is commemorated.


Festive decorations: red, white, and blue craft ideas
The colors red, white, and blue are all symbolic in American culture. They represent the colors found in the American Flag.
- Red stands for valor and courage.
- White symbolizes purity and innocence.
- Blue represents perseverance and justice.
These colors represent the spirit of the nation and are prevalent during 4th of July celebrations across the country.
Red, white, and blue crafts can also serve as festive decorations for the classroom. They can be used as the decor during a classroom celebration of Independence Day.


1) Suncatcher stars
Materials:
- Small red, white, and blue tissue paper squares,
- Clear contact paper,
- Red, white, and blue construction paper,
- Ribbon, or string,
- Scissors,
- Single hole punch and
- Star template (if needed).
Directions:
- If not already done, cut tissue paper into small squares.
- Cut large stars out of the construction paper (about 6-7 inches each).
- Cut the center out of each construction paper star leaving about half to ¾ of an inch edge.
- Place the empty construction paper star onto the sticky side of a piece of contact paper.
- Add tissue paper squares to the center of the star.
- Place another piece of contact paper, sticky side down, to enclose the tissue paper and construction star.
- Cut off excess contact paper in the shape of the star.
- Punch a hole into one of the star’s points and add a ribbon for hanging.
- Hang around the room, preferably in front of a window or light.
2) Straw stamped flags
Materials:
- Plastic or paper straws,
- White tempera paint,
- Red, white, and blue construction paper,
- Scissors, and
- Paintbrushes.
Directions:
- Cut the red and white paper into strips along the long edge.
- Cut a small rectangle out of blue construction paper.
- Glue the strips and rectangle to another piece of construction paper to make a flag.
- Cut small slits in the straws and fold them back to make a stamp.
- Dip the end of the straw into the white paint. Stamp stars onto the blue rectangle.
- Hang up around the classroom as decoration.
3) Patriotic windsocks
Materials:
- Red, white, and blue construction paper,
- Red, white, and blue crepe paper streamers,
- Glitter or glitter glue,
- Red, white, and blue paper stars and hearts,
- Ribbon or string,
- Glue sticks or glue dots,
- Scissors and
- Single hole punch.
Directions:
- Decorate one piece of construction paper with glitter and paper shapes leaving approximately a 1-inch border.
- Cut streamers into various lengths.
- Turn paper over and glue cut streamers along one short edge.
- Roll decorated paper into a tube along the short side and glue or use glue dots.
- Use a single hole punch to make a hole on each side of the top of the windsock.
- Add ribbon to create a holder.
- Hang around the room for decoration.
4) Handprint bald eagles
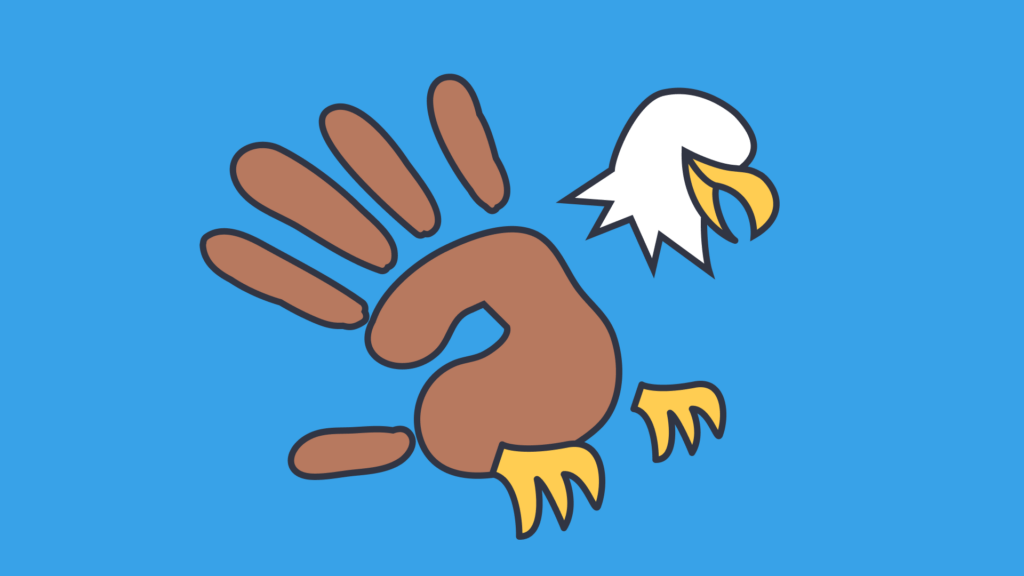
This craft is not red, white, and blue, however, the bald eagle is a symbol of freedom and can be found on the dollar bill, the government insignia, and on the presidential flag.
Materials:
- Red, white, or blue piece of paper or a paper plate,
- Brown, white, and yellow tempera paint,
- Paint brushes and
- Markers.
Directions:
- Paint one hand brown and press onto a construction paper.
- Add a white head with an eye and a yellow beak to the eagle.
- Add yellow claws at the bottom.
- Include patriotic stars and decorations around the eagle.
- Students can include a short sentence about what the eagle represents, or what freedom means to them.


Wearable crafts: making Independence Day accessories
These crafts are fun and wearable. These can be worn during a classroom parade or fashion show to celebrate Independence Day.
5) Cardboard tube bracelet
Materials:
- Toilet paper or paper towel rolls,
- Glitter or glitter glue,
- Red, white, and blue tempera paint,
- Red, white, and blue foam stars and
- Paintbrushes.
Directions:
- Cut a slit up the side of the cardboard roll.
- Cut into 2 inch rounds.
- Paint each round.
- Decorate with foam shapes and glitter.
6) Patriotic necklaces
Materials:
- Paper straws (red, white, blue, or striped),
- Red, white, and blue,
- String and
- Scissors.
Directions:
- Cut a length of string long enough to go over the wearer’s head.
- Cut paper straws into approximately 1 inch pieces.
- Thread beads and straw pieces to create a necklace.
- Tie the ends together and wear your creation.
7) Paper plate totes
Materials:
- Paper plates,
- Red, white, and blue tempera paints,
- Star stamps (can be made from sponges),
- Ribbon or string,
- Stapler,
- Scissors,
- Single hole punch and
- Paint brushes.
Directions:
- Cut the paper plate in half.
- Decorate each side with paints, use the star stamps to create a 4th of July design.
- Staple the two halves together.
- Punch a hole on each side.
- Cut a length of string or ribbon long enough to wear the paper plate like a tote or purse.
- Tie the string or ribbon onto the paper plates.
8) Patriotic foam hats
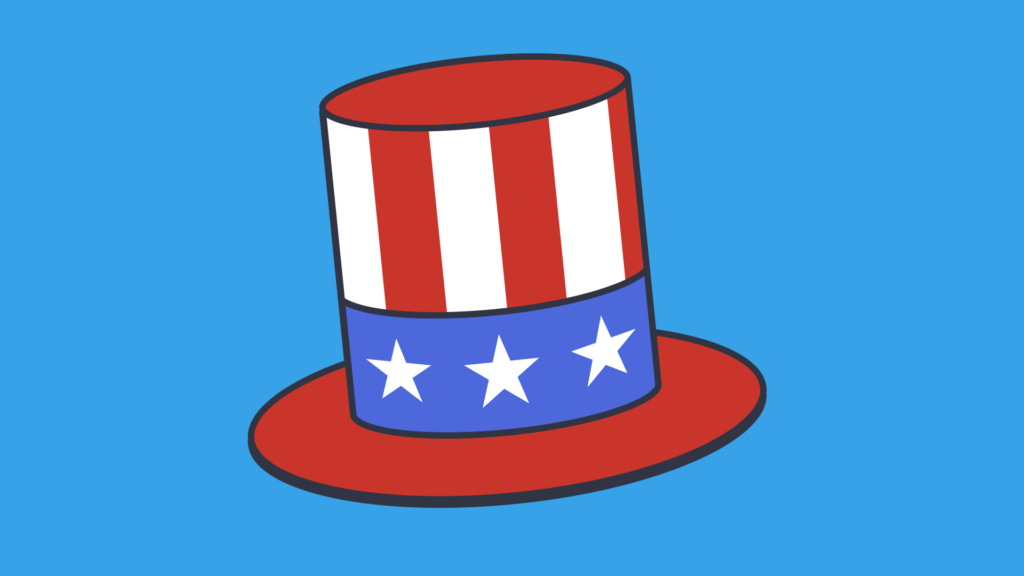
These foam hats are intended to look like Uncle Sam’s hat.
Uncle Sam originated in Troy, New York during the War of 1812. He was an actual person that worked at a meat packing plant. Over time cartoons were created of Uncle Sam in a red, white, and blue hat and outfit.
During World War I this image was used on a recruitment poster for the U.S. army. He is widely considered to be an icon of American culture.
Materials:
- Red, white, and blue foam sheets,
- Glue or glue dots,
- Scissors,
- Elastic cord or string and
- A single hole punch.
Directions:
- Cut a white piece of foam into 2 inch strips along the long edge.
- Glue the white strips onto a red foam sheet to create a striped pattern.
- Roll into a tube along the short edge.
- Cut out white stars from another white foam sheet.
- Cut a blue strip about 4 inches wide.
- Add white stars to the blue strip.
- Attach to the bottom of the red and white tube.
- Cut a blue circle out of a blue foam sheet.
- Glue the top of the hat to the foam circle.
- Punch holes into each side.
- Attach an appropriate length of elastic cord and wear your new hat.

Collaborative projects: building teamwork with group crafts
Collaborative projects are great for students. They build communication skills and allow students to learn how to work together.
These craft ideas can be used to celebrate Independence Day and foster teamwork.
9) Illustrated timeline
Materials:
- Blank paper or poster board for each group,
- Important Independence Day events,
- Markers, colored pencils, or crayons and
- Ruler.
Directions:
- Divide students into small groups (2-3 students).
- This activity can also be done individually and then created into a larger timeline.
- Give each group a poster board and an event to research.
- Students research their event and create an illustration to mark that event.
- Each illustration should include the date.
- Create a classroom illustrated timeline on a bulletin board or wall.
- Students can present their timeline to another class, younger students, or at a parent event.
You can research a timeline of Independence Day on the Internet. A few important events include:
- June 11, 1776 – Thomas Jefferson begins writing the Declaration of Independence.
- July 4, 1776 – The Continental Congress votes to approve the Declaration of Independence.
- August 2, 1776 – The Declaration of Independence is signed.
- 1938 – Congress made Independence Day an official holiday.
10) Freedom mural/quilt
This activity can be done with paper or fabric squares. If using fabric, students need fabric paint/pens.
Materials:
- Blank paper (or blank fabric squares),
- Red and blue markers,
- Red, white, and blue paints and
- Paintbrushes.
Directions:
- Give each student a blank paper or square.
- Students decorate their square.
- Each student should include a sentence about why freedom is important.
This is also a time they can be creative and write a poem about freedom such as an acrostic poem or a haiku. - Together the students assemble their mural/quilt to be displayed in the classroom.


11) 4th of July parade floats
On the 4th of July many cities and towns hold parades. This activity allows students to be creative and to create a “float” for the parade.
Before creating their shoe box floats, students should learn about various aspects of July 4th. Each group’s shoe box should represent one part of July 4th such as the Declaration of Independence, fireworks, Uncle Sam, the American flag, etc.
Materials:
- Shoe boxes,
- Red, white, and blue decorations,
- Red, white, and blue paints,
- String or ribbon,
- Glue, glue dots, hot glue,
- Scissors and
- Paint brushes.
Directions:
- Research an aspect of the history and celebration of Independence Day.
- Create a shoe box display to represent that aspect.
- Create a 2 minute oral presentation about the shoe box float.
- Attach a ribbon or float.
- Hold a shoe box parade to show off the floats and present the information learned.
Quick crafts for younger kids
12) Tissue paper sparklers
Materials:
- Red, white, and blue tissue paper,
- Red, white, and blue washi or craft tape,
- Cardboard tubes (toilet paper),
- Tape and
- Scissors.
Directions:
- Decorate the outside of the tube with washi/craft tape.
- Fold several layers of tissue paper into a square.
- Cut strips into the tissue paper leaving about a half inch at the bottom. Fan them out.
- Tape the half inch edge of the tissue paper into the inner edge of the cardboard tube.
- Shake your fire-free sparklers!
13) Fork fireworks
Materials:
- Plastic forks,
- Red, white, and blue tempera paint,
- Black paper.
Directions:
- Dip the tine end of the forks into paint.
- Press onto the paper.
- Layer to make colorful fireworks.
- These can be made into greeting cards to share with family and friends or a local veterans hospital.
14) Coffee filter art
These easy art pieces can be used as stand alone decorations or made into patriotic flowers using pipe cleaners.
Materials:
- Paper coffee filters,
- Red and blue markers,
- Spray bottle with water and
- Scissors.
Directions:
- Cut coffee filters into star or heart shapes.
- Color with red and blue markers
- Lightly spray the colored coffee filter.
- Allow to dry.
15) Noise makers
Materials:
- Cardboard tubes (paper towel length)
- or 6 inch lengths of PVC pipe,
- Beads, dried beans/peas,
- Rubber bands,
- Tissue paper squares (approximately 5 inches) and
- Red, white, and blue decorations.
Directions:
- Place 3 tissue paper squares on the end of the tube using one rubber band.
- Pour a ¼ cup of beads or dried beans into the tube.
- Place 3 tissue squares on the other end of the tube and secure with another rubber band.
- The tube can be decorated with red, white, and blue decorations.
- Shake and celebrate!
A good way to celebrate the 4th of July with students would be to hold a class parade!
Students can pull their shoe box floats and wear their creations. The time leading up to the parade can be a time for students to craft items to wear and to carry during the parade.
During the parade, students can have an opportunity to stop along the “parade route” and share their oral presentations about their float and what it represents. (The parade could even be a collaborative effort between classes as well!)
- Younger students can create noise makers and paper sparklers and line the parade route.
- This will give older students an opportunity to share what they have learned about Independence Day.
Part of 4th of July celebrations are about being with family and friends. People celebrate with cookouts and eat food together. This can be an opportunity for students to learn about each other’s traditions as well.
The parade can therefore end with a class party with red, white, and blue decorations and food.

Independence Day is a time to celebrate the birth of America and for students to learn about patriotism. Doing crafts that celebrate America is a great way to get students excited about learning about an important part of American culture.
Share to

Mattie Farrer
briefcase iconAVID Site Coordinator / Content Curator
Mattie Farrer has been an educator in various grade levels and capacities during her career. She has a passion for supporting English learners and their language development. She also loves helping teachers reach all students.
Other posts


Want more content like this?
Subscribe for blog updates, monthly video releases, trending topics, and exclusive content delivered straight to your inbox.
